
Ducati Diavel Service Manual: Checking the camshafts and supports
Check the cam contact surfaces for scratches, grooves, steps and waving.
Worn cams are frequently the cause of poor timing, which leads to loss of engine power.
Place the camshaft between two centres and check the run-out on the areas indicated using two dial gauges.
Service limit: 0.1 Mm.
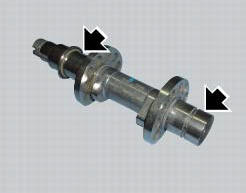
Visually inspect the camshaft tracks for scoring and abnormal wear. If any of the above defects are found, the camshaft should be renewed.
If you find scoring or excessive wear, check the operation of the engine lubrication circuit.
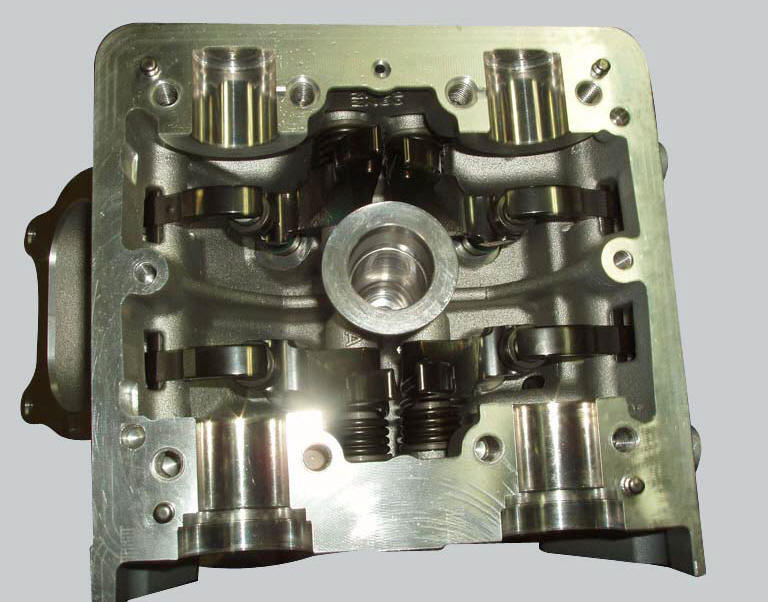
 Removal of the camshafts
Unscrew and remove the screws (7) and the o-rings (8) from the cylinder head
covers.
Remove the cylinder head cover (6).
Remove the gaskets (4) and (9).
Repeat the same procedure fo ...
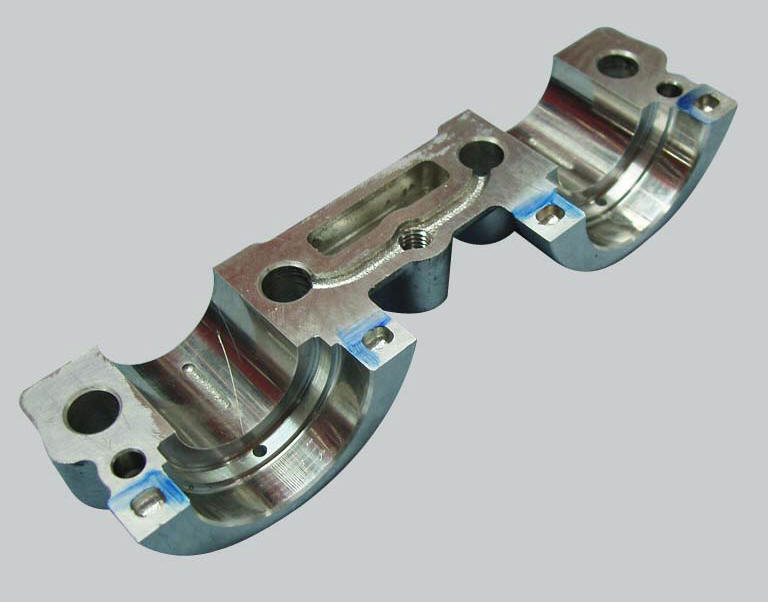
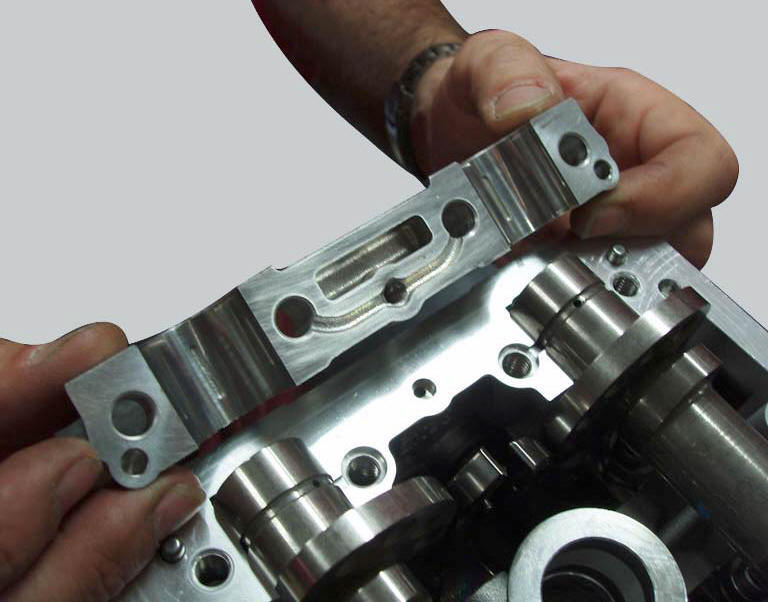
 Refitting the camshafts
If the stud bolts (2) were removed, apply the recommended threadlocker to the
short end of the stud bolts (2), i.E. The
end that is to be screwed into the cylinder head. Tighten the stud bolts (2) ...
Other materials:
Reassembling the front footrest brackets
To reassemble the brackets (6) and (21) carry out the removal procedure in
the reverse order; tighten the screws (7) to a
torque of 25 nm +/- 10% (sect. 3 - 3, Frame torque settings).
...
Riding modes
The rider may select between four different riding modes (sport, touring,
urban and enduro) from the dashboard and via
the "turn indicator reset" button (3). Each riding mode contains settings for
the following:
The dtc set-up (sect. 6 - 7 "Dtc (ducati traction control) setting
function" ...
How to use this manual
How to use this manual
This manual has been prepared for technical personnel at ducati authorized
service centres with the aim of providing
fundamental information on how to work in accordance with the modern concepts of
"best practice" and "safety in the
workplace" during the maintenance, re ...