
Ducati Diavel Service Manual: Inspection of the gear selector forks
Visually inspect the gear selector forks. Bent forks must be renewed as they may lead to difficulties in gear changing or may suddenly disengage when under load.
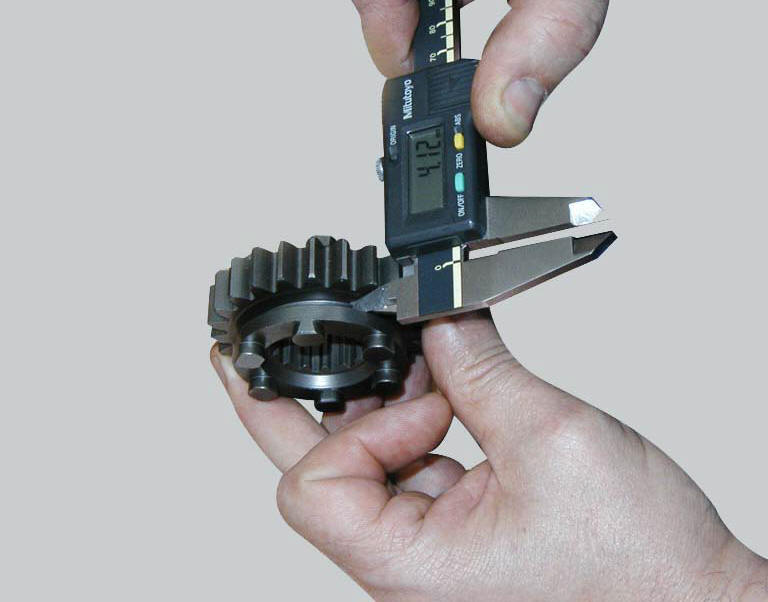
Use a feeler gauge to check the clearance of each fork in its gear groove.
If the service limit has been exceeded, check whether or not it is necessary to replace the gear or the fork by referring to the limits specified for each part (sect. 3 - 1.1, Gearbox).
 Overhaul of the gearbox
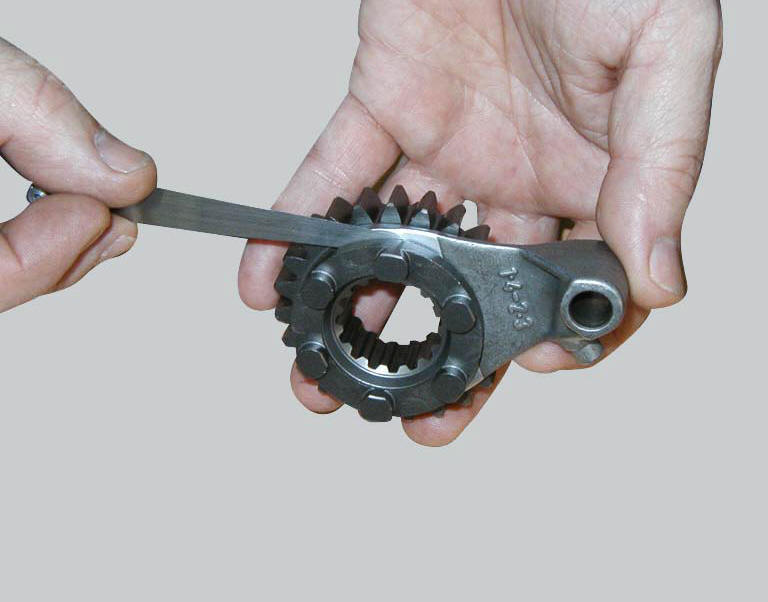
Check the condition of the front coupling dogs of the gears. They must be in
perfect condition and with no sign of wear on
the edges of the teeth.
The idler gears must rotate freely on their sha ...
 Inspection of the gear selector drum
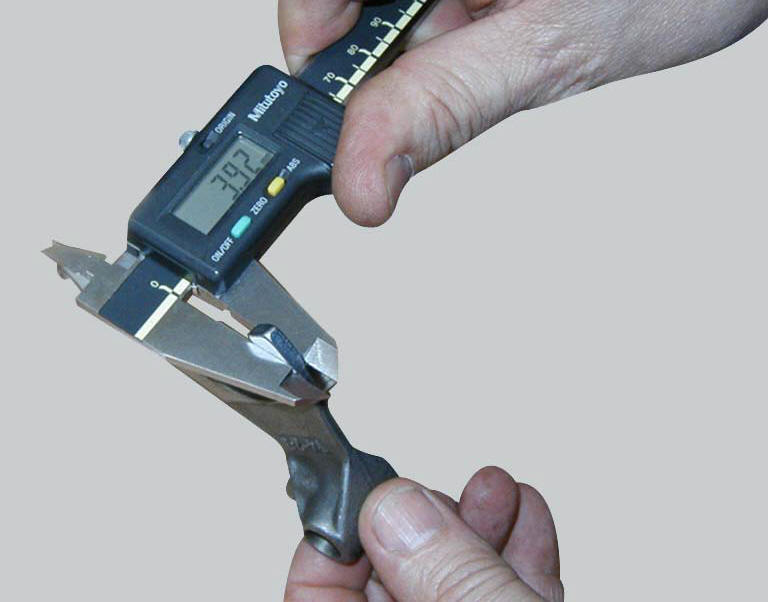
Use a gauge to measure the clearance between fork pin and the slot on the
selector drum.
If the service limit is exceeded, determine which part must be replaced by
comparing these dimensions wi ...
Other materials:
Passive key
Introduction
The passive key (1) is used when the active key is not working correctly or
is not available.
The passive key works as a transponder, and must therefore be placed physically
onto the antenna to work.
The mechanical part (2) of the key is used to open the seat or the tank plug ...
Suspensions
Front
Hydraulic upside-down fork provided with external adjusters
for rebound and compression damping and preload (for inner
springs of fork legs).
Stanchion diameter:
50 mm, coated.
Rear wheel travel:
120 mm
Rear
The shock absorber is adjustable for rebound and
compression, with remot ...
Refitting the brake disks
Before refitting the brake disc to the wheel, clean all contact surfaces
thoroughly and smear a medium strength
threadlocker on the threads of retaining screws (5).
Operating on the left side, fit the phonic wheel (6).
Tighten the fixing screws (5) of the brake disk (7) to the wheel followi ...