
Ducati Diavel Owners Manual: Key-on/key-off using the red key on the handlebar with the active key
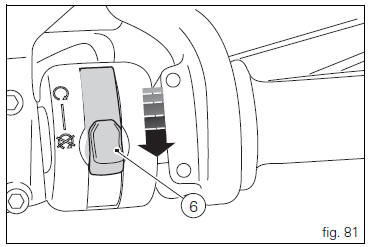
A key-on can be performed by pressing the red key (6) on the handlebar in the hands free on/off position and in the presence of the active key (3, fig. 77).
 Note
Note
The active key (3, fig. 77) Has a range of approx. 1.5 M, therefore it must be located within this range.
Key-off can be performed by pressing the red key (6) on the handlebar in the hands free on/off position. It can be done also without the key (3, fig. 77) Only if the motorcycle speed is equal to zero.
 Hands free system key-on and key-off
Key-on consists in turning on the hands free system and all
of its electronic devices.
Key-off consists in turning off the hands free system and all
electronic devices, and makes sure the engine ...
 Key-on/key-off using the key on the hands free lock with the active key
Key-on can be performed by pressing the button (7) on the
hands free lock (1, fig. 77) And with the presence of the
active key (3, fig. 77).
Note
The active key (3, fig. 77) Has a range of approx ...
Other materials:
Reassembly of rear shock absorber - rocker arm - linkage assembly
Once the needle roller bearings (9) have been removed from the rocker arm
(18), upon reassembly fit a new needle roller
bearing (9) on drift part no. 88713.1071 And lubricate with recommended grease.
Support the rocker arm and drive the needle roller bearings into the rocker arm
bore until t ...
Steering angle adjustment
Loosen the nuts (17) and adjuster screws (16) on both sides of the bottom
yoke.
Use a 6 to 6.5 Mm spacer (a) fitted to the fork outer tube, or use a gauge.
Turn the front forks to the right until the spacer (a) is seated against the
frame top tube.
Tighten the adjuster screw (16) to ...
Removal of the control unit
Loosen the screws (1) and remove the relay supporting bracket (2), disconnect
the connectors (3) and remove the control
unit (4) from the vehicle.
...