
Ducati Diavel Owners Manual: Trip 1 meter
This function shows the distance travelled since the trip meter was last reset (in km or miles depending on the specific application).
Holding the button (1, fig. 14) 
pressed for 3 seconds
when this function is displayed resets the trip meter.
When the reading exceeds 9999.9, Distance travelled is reset and the meter automatically starts counting from 0 again.
If the system measurement units are changed at any moment through the "set units" function of the setting menu, or if there is an interruption in the power supply (battery off), the distance travelled is reset and the count starts from zero (considering the newly set unit of measurement).
 Note
Note
When this value is reset, also the "average fuel consumption", "average speed" and "trip time" functions are reset.
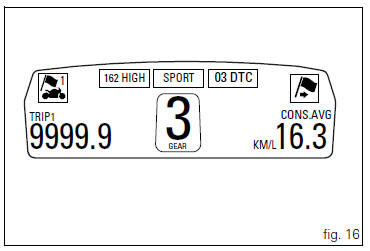
 Total distance covered indicator: "odometer"
This function shows the total distance covered by the vehicle
(in km or miles depending on the specific application).
At key-on the system automatically enters this function.
The odometer readi ...
 Trip 2 meter
This function shows the distance travelled since the trip
meter was last reset (in km or miles depending on the
specific application).
Holding the button (1, fig. 14) ?
pressed for 3 seconds
w ...
Other materials:
Engine start button
Introduction
The engine start button is located on the right hand handlebar switchgear set
and is used to turn the engine on.
Component assembling position
The engine start button is included in the switchgear set on the right hand
handlebar.
Location of right hand handlebar switchge ...
Refitting the front brake master cylinder
Insert the front brake master cylinder unit (1) on the right side of the
handlebar to bring the terminal internal edge in
correspondence to the bolted joints (a).
Fit the terminal (12) on the handlebar inserting the screws (15).
Tighten the terminal (12) retaining screws to a torque of 10 ...
Backlighting setting function for the dashboard on handlebar - dashboard 2
This function allows backlighting setting of the dashboard on handlebar.
To access the function it is necessary to view the ""setting" menu", using
buttons (1) "s" or (2) "t" select the "back
light" function and press the reset button (3) to enter the following page.
Use button (1) "s" or ( ...