
Ducati Diavel Service Manual: Checking the camshafts and supports
Check the cam contact surfaces for scratches, grooves, steps and waving.
Worn cams are frequently the cause of poor timing, which leads to loss of engine power.
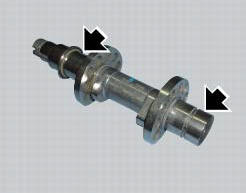
Place the camshaft between two centres and check the run-out on the areas indicated using two dial gauges.
Service limit: 0.1 Mm.
Visually inspect the camshaft tracks for scoring and abnormal wear. If any of the above defects are found, the camshaft should be renewed.
If you find scoring or excessive wear, check the operation of the engine lubrication circuit.
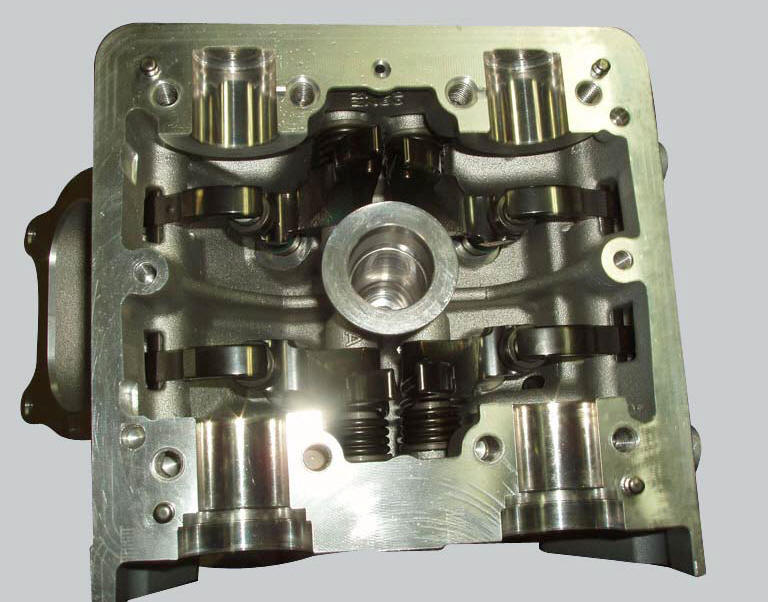
 Removal of the camshafts
Unscrew and remove the screws (7) and the o-rings (8) from the cylinder head
covers.
Remove the cylinder head cover (6).
Remove the gaskets (4) and (9).
Repeat the same procedure fo ...
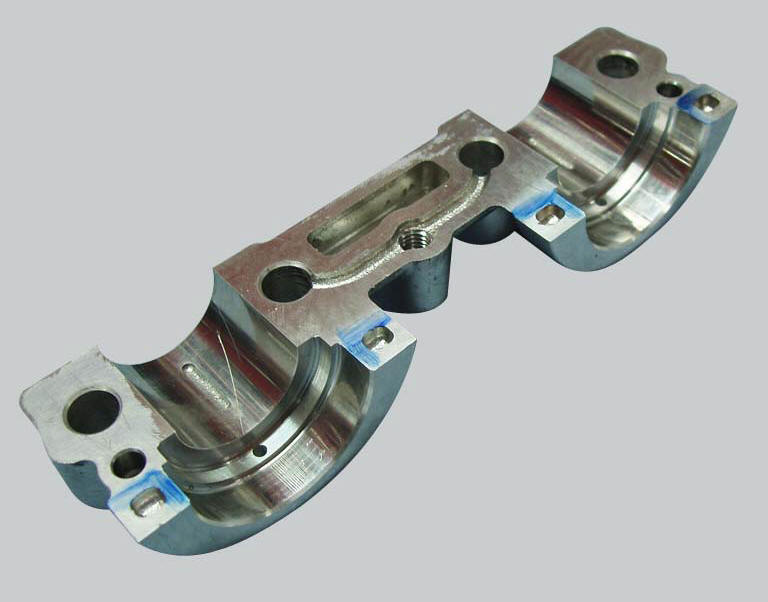
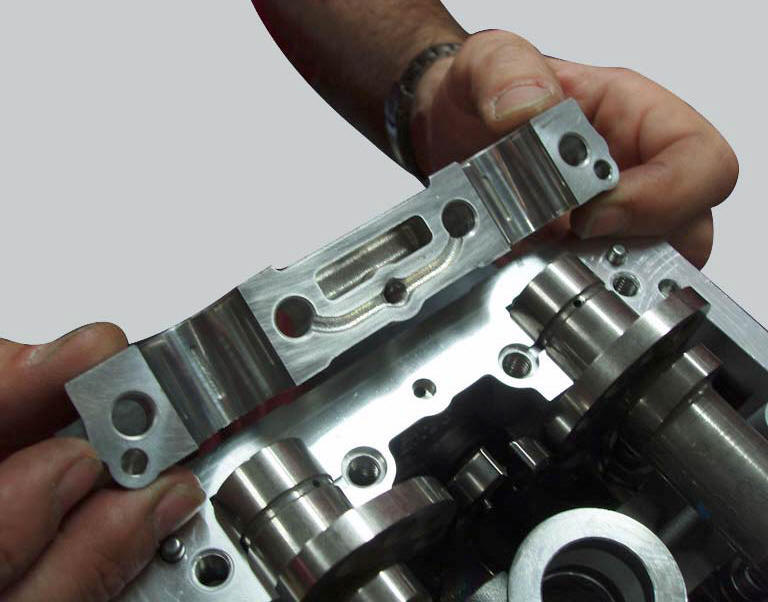
 Refitting the camshafts
If the stud bolts (2) were removed, apply the recommended threadlocker to the
short end of the stud bolts (2), i.E. The
end that is to be screwed into the cylinder head. Tighten the stud bolts (2) ...
Other materials:
Check the idle and the co amount with warm engine
Start the engine;
Switch on the dds and check that it does not signal any error (otherwise
consult the relevant paragraph of this manual
to reset the error and proceed with the idle check);
Enter the "self diagnosis" menu by selecting the diavel model in the
available vehicle version. ...
Menu 2 on/off function
This function turns off and back on the menu 2.
If menu 2 is disabled, the functions for average fuel consumption (cons.Avg),
instantaneous fuel consumption (cons.),
Average speed (speed avg), trip time (trip time) and air temperature (air) will
no longer be displayed in the "main
screen". ...
Reassembling the front footrest brackets
To remove the front rh footrest bracket (6) it is necessary to remove the
rear brake master cylinder reservoir (by leaving
it connected to the braking system), and the rear brake lever from the bracket
(sect. 7 - 4, Removing of the rear brake
control).
To remove the front rh footrest bracke ...