
Ducati Diavel Service Manual: Disassembling the water radiator unit
The procedure is the same for both radiators.
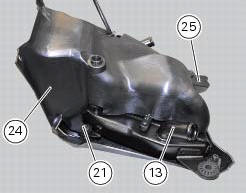
Loosen the screws (15), (21) and (25) to remove the air duct (24) from the right radiator (13).

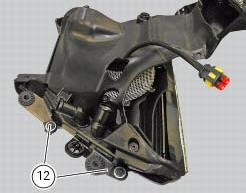
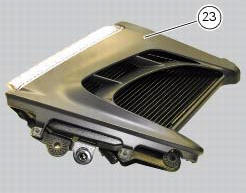
Undo the screws (12) and (14) to remove the half-fairing (23) from the radiator.

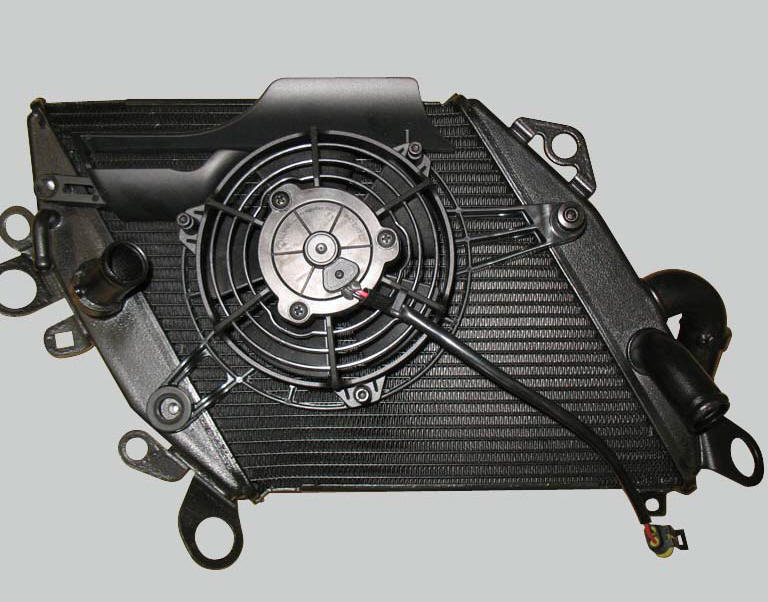
Radiator inspection
Visually inspect the oil cooler. If it shows signs of damage or leaks, the radiator must be renewed.
Check also that the air flow through the radiator core is not obstructed by leaves, insects, mud, etc.
Important
Excessive cooling temperatures can be caused by a partial obstruction of the radiator core. Carefully check the condition of the radiator core.
 Removing the water radiators
Loosen the screws (p) that retain the supports (s) of the front splashguard
to the air ducts (24) and (26).
Loosen the screws (30), to separate the two internal air ducts (24) and (26). ...
 Renewal of the cooling fan
Loosen the electro-fan retaining screws (15) and (17) and remove the
electro-fan (18) from the radiator.
Carry out the same procedure for the other radiator's electro-fan.
On refitting, positi ...
Other materials:
Cleaning and replacing the spark plugs
Spark plugs are essential to smooth engine running and
should be checked at regular intervals.
The condition of the spark plugs provides a good indication of
how well the engine is running.
Have the spark plugs inspected or replaced at a ducati dealer
or authorised service centre; they will ...
Refitting the handlebar
Position the handlebar (4) so that the external lower corner of the marks (a)
on the handlebar matches the upper internal
corner of the lower u-bolts (b) as shown.
Apply the recommended grease to the threads and undersides of the heads of
the screws (3).
Important
Position the upper u-bo ...
Coolant temperature
This function indicates coolant indication state.
The temperature unit of measure can be selected (C or f).
The reading is indicated as follows:
if the reading is between - 39C and +39C "lo" is shown flashing on the
dashboard (steady);
if the reading is between +40C and +120C it appears on t ...