
Ducati Diavel Service Manual: Refitting the evaporative emissions canister
To refit, carry out the removal operations in reverse order, making sure to locate the hoses as shown in the figures at the end of the chapter.

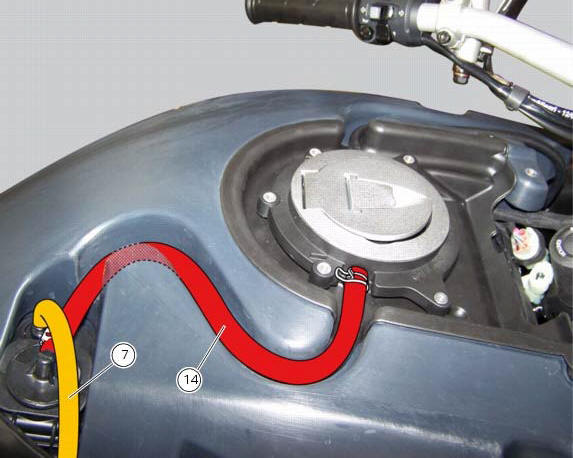
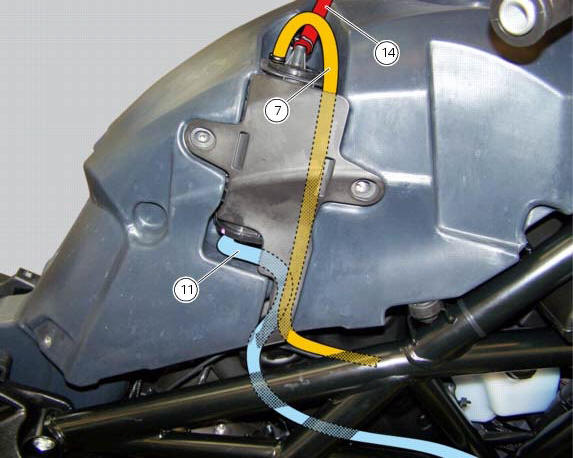
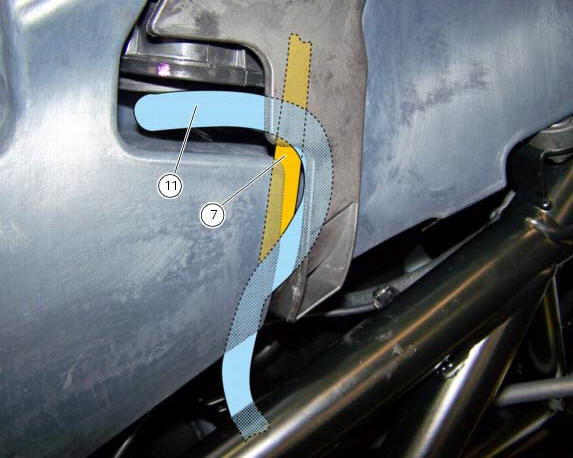
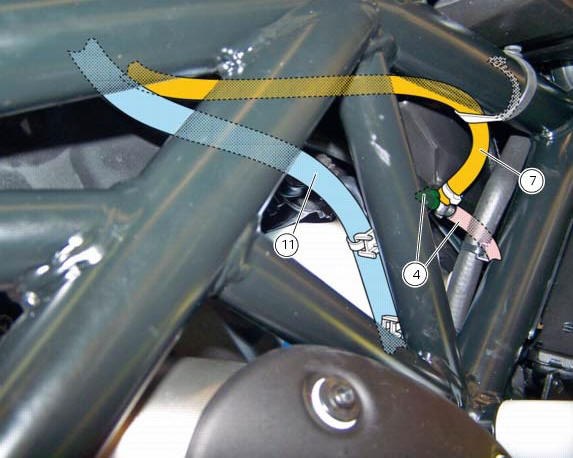
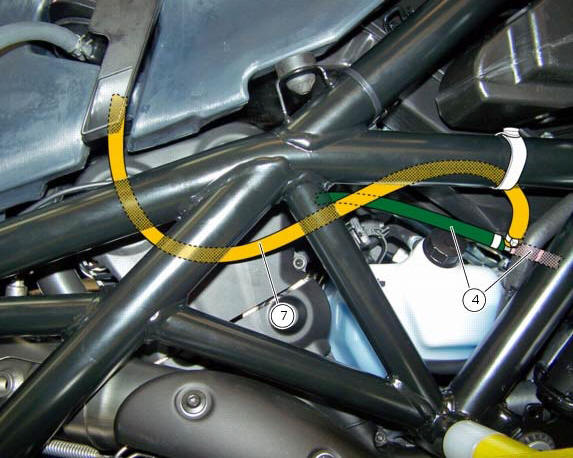
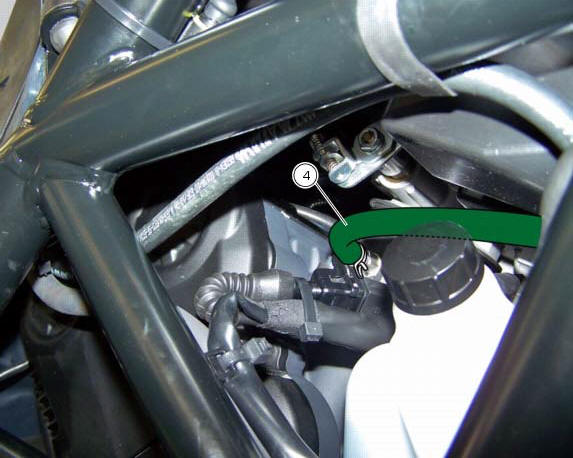
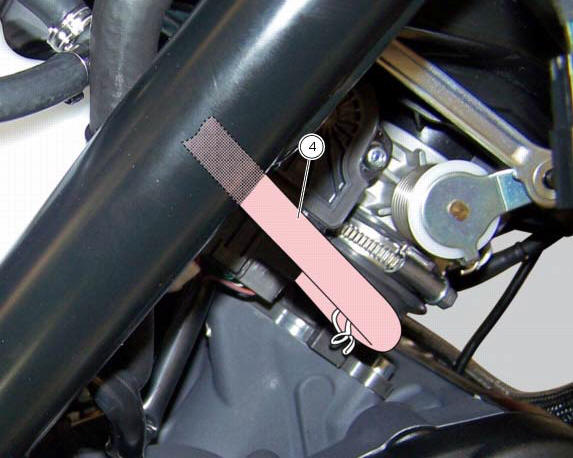
Positioning the hoses / clamps and canister filter

 Removal of the evaporative emissions canister
Loosen the screws (9) securing the plate (8) to the tank.
Slightly pull the plate (8) with the canister (13), remove the clamps (3) and
(12) and connect hoses (7) and (14).
Release the ...
 Engine
...
Other materials:
Removal of the generator cover
Note
This operation is described for an engine removed from the frame since all
reassembly procedures are easier with the
engine on the bench.
Disconnect the connector (a) from the generator cable.
Unscrew the two retaining screws (7) of the centre cap (6) over the end of
the cranksh ...
Specific operating strategies
Idle speed
No electric motor is used for idle speed regulation (bypass is modulated
instead with the throttle valve), as idle speed
control is effected by the ride-by-wire system. Idle speed is maintained by the
control unit when the speed drops below a
specific threshold and when the clutch ...
Removal of the lubrication system
Disconnect the sensor (12) of the main wiring.
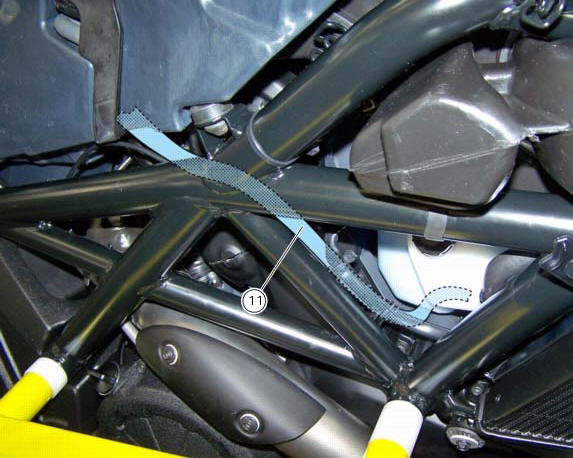
Open the pipe grommet (11).
Undo the screw (8) and slide out the plate (9).
Slide the tubes (7) out of the half-casing having care not to damage the tubes
o-rings (a) that guarantee the coupling
sealing.
Undo and remove the sc ...